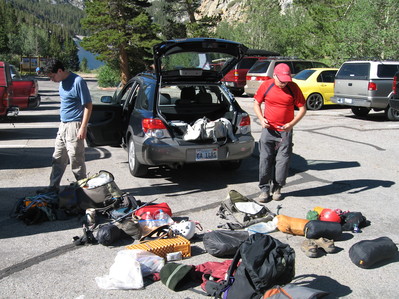
We got to the overnight parking lot at the South Lake trailhead and we found it completely full. We parked on the roadway to set up our gear, hoping for a space to open. Unfortunately, we didn't get lucky so we had to park in the overflow lot (which is 1.2 miles away). I volunteered to drive the car down the road but I got "lucky" and found a legal parking spot 0.8mi away. After parking the car and hiking up the road, I got the surprise of seeing my co-worker Marc and his fiancèe Jennifer who were starting their backpacking trip on the JMT to Whitney.
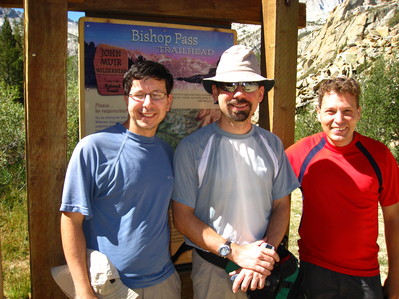
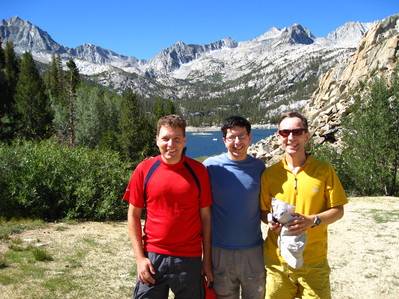
After hiking for 2 hours, we left the excellent trail just before Bishop Pass and headed cross country to Thunderbolt Pass. The cross country route is quite straight forward. You leave the trail just before the pass at 11840ft and hike towards Lake 11920+. Passing the lake on your left (East side), you continue through easy grassy terrain (with the occasional short rock hopping) to a gap at the end of the Agassiz Ridge. Traverse as far left as you can, but stil staying below the cliffs and big boulder fields. From the top of this section, you can see Thunderbolt Pass at about the same elevation. Unfortunately, one needs to head down to avoid the big boulders and scree of Agassiz.
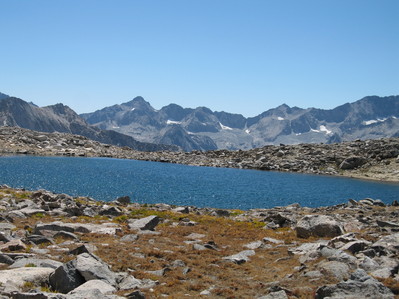
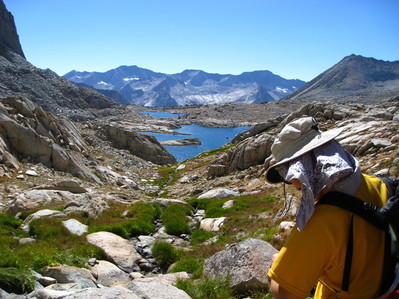
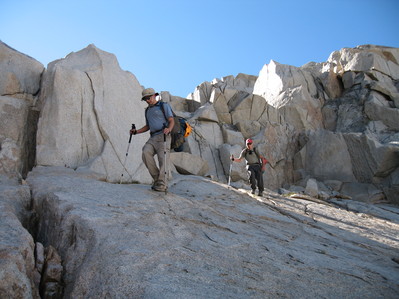
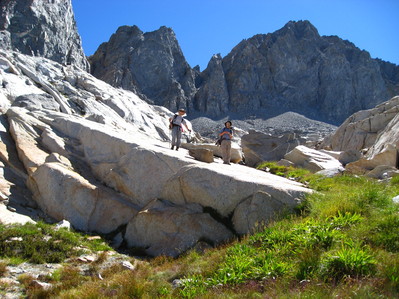
Thunderbolt pass is tedious to say the least. I've tried many different ways of going through and the one that I find the best is to descend to 11700 feet and head towards the pass on easy slabs with grass. Don't go to high too soon as then you would have to deal with the boulders from Agassiz and Winchell; but don't stay too low as then you would have to deal with the large boulders coming down from Thunderbolt pass. At about 12100ft (N 37.09798, W 118.52615), the easy terrain at the left of the pass ends and we found that the best is to traverse horizontally the boulder fields coming from Thunderbolt pass. Don't get tempted to gain too much elevation as you are crossing or you would have to deal with car and house size boulders. After you get to the right side, you can either climb a loose gully just at the edge of the pass or continue on relatively steep friction slabs to the top. These slabs are easily visible from a long way back. The descend from Thunderbolt pass to our camp is significantly easier, just a series of connecting ramps to easy terrain near a group of ponds.
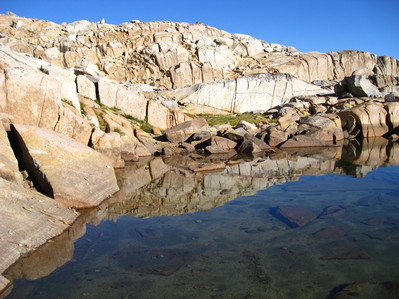
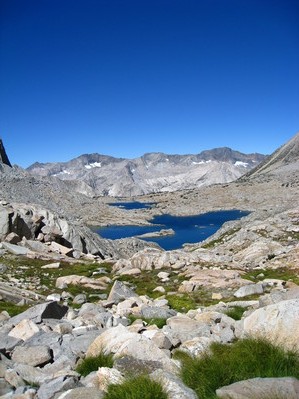
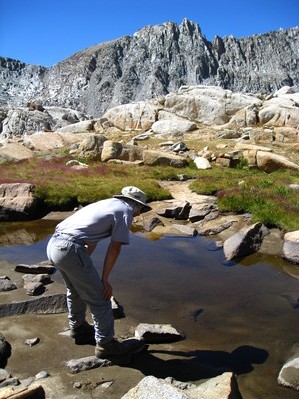
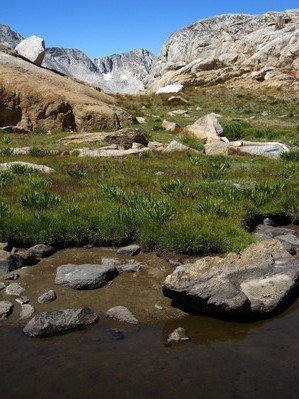
We camped next to one of the ponds with a beautiful view towards the South. There was one other party in the area: Chris, Gordon, and his wife. Chris Simmons is a mountain guide from Sierra Mountain Center and he was taking Gordon and his wife to North Pal, continuing with a traverse to Starlight Peak. Unfortunately, Gordon's wife had problems with her knee so she decided to skip the climb.
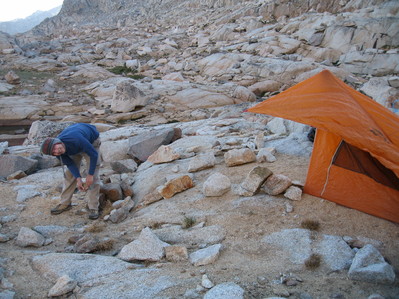
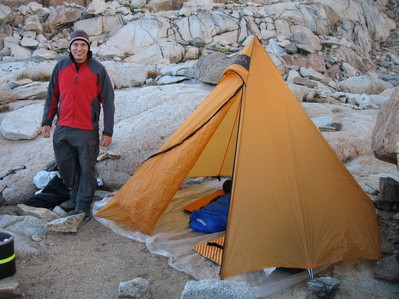
After setting camp, we started scouting the route. The Northwest
chute of Starlight is quite obvious. From Thunderbolt Pass you can
see a big chute (Southwest Chute, leading to Thunderbolt Peak), then 3
small chutes, and then another big one, the Northwest chute, just
where the rocky ledges next to camp end.
The High Sierra: Peaks, Passes, and Trails by Secor has a very good
picture marking the start of this chute
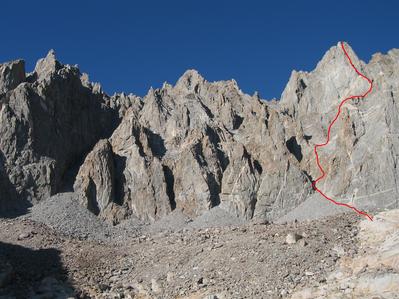
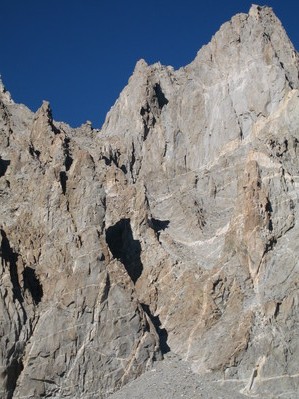
We woke up at 4:30am and left camp at 5:45am just at first light. Chris and Gordon had left about an hour earlier headed to North Pal. Getting to the chute is quite simple, you just gain the rocky ledges and find your way to the end of them. There, a short boulder hopping takes you to the loose talus coming down from the chute. We found the terrain to the right of the scree to be a bit more solid so we took that route in the way up.

After entering the chute, you continue until you find a big boulder blocking any further progress. You avoid the blockage by heading to the Class 4 ledges to its right. There are many routes going up, but careful zig-zagging allows you to keep the difficulty at easy Class 4. Don't make the mistake we did in 2004 by starting on the ledges too early or you will be in the wrong side of the ridge and you won't be able to reach the next chute. The ledges should quickly become easier (class 2) as you go up until you see a subsidiary chute that goes up and to the right.

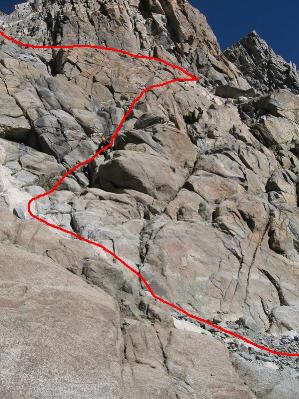
The subsidiary chute is mostly Class 2. The rock there is a bit loose, so one needs to be careful when traveling in a group. We found that the slabs at the center of the chute provided a more pleasant ascent than the sandy scree.
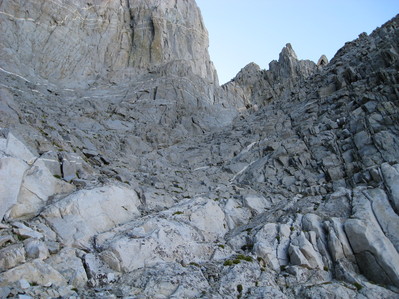
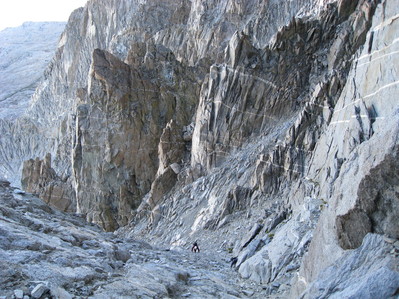
At the top of the subsidiary chute there is a steep class 3 friction slab that takes you to a notch. Stay to the left of the slab and gain the notch where you will get surprise with big exposure. From that point you will be able to see a waterfall (mostly dry in this trip) and the main chute that takes you to the summit pinnacle. Between the notch and the bottom of the waterfall, there is a scary class 4 traverse on a horizontal crack with excellent handholds and footholds. We all agreed that the traverse looked worse that it really is and we didn't use the rope there.
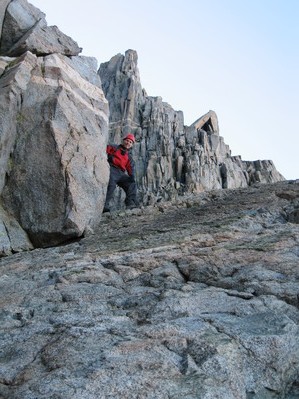
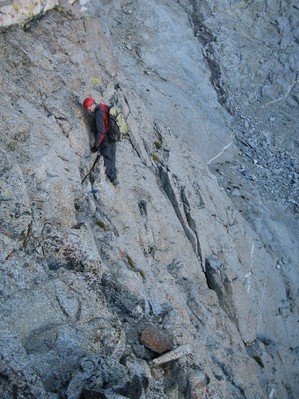
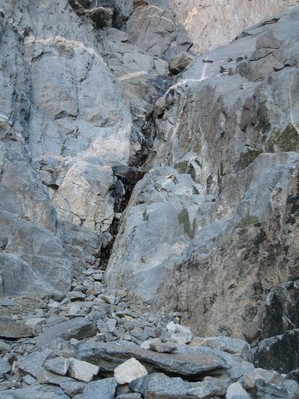
At the waterfall, we climb to the right. Bill stayed low, while Peter and I headed high. When heading high, the climb is easier at first, but then it gets much harder - easily class 4. By staying low and close to the waterfall, Bill found easier climbing and gained the chute much faster than us. After you gain the main chute, it's a straight forward class 3 climb.
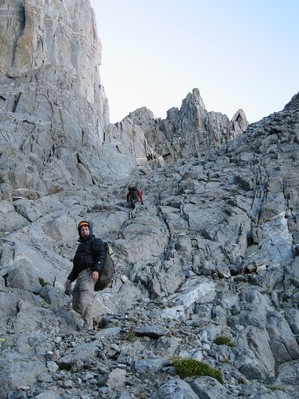
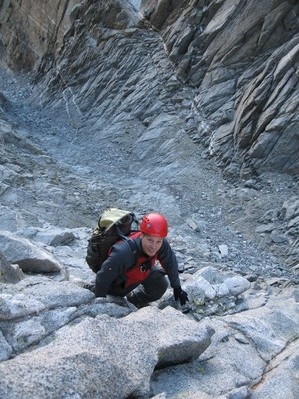
Depending on the year, you may have to climb a bit on the walls of the chute to avoid hard snow; but the difficulty is never above class 3. 3/4 of the way up the chute, you have to be careful to stay to the right, to avoid a small cliff that blocks progress from the left. After passing the small cliff, you should start heading to the left. At that point, you have a view of the "notch" at the top of the chute. In 2005, we climbed to the top of the notch (Class 3) and did 2 exposed roped pitches to the left (on the Palisade Glacier side of the ridge) to the bottom of the Milk Bottle (from the top of the notch, the Milk Bottle is not visible).
However, it's much easier (although by no means easy) to climb to the left of the notch to a smaller notch on the ridge. The climb is solid class 4 but it can become class 5 very quickly if you don't choose your route carefully. About 20 feet below the notch, we found a chockstone that Bill and Peter climbed without problems by using a tight hand jam in a crack. Not being a crack climber, I had problems with it, so Bill set up a sling for me as additional aid. However, I noticed that I could move a bit to the left where a high step allowed me to bypass the chockstone without having to use the sling. After a few more class 4 moves (bypassing a rappel sling), we quickly gained the ridge. From that point, we were able to see the milk bottle up and a bit to the right. After gaining the ridge an exposed Class 3 catwalk took us to a chimney that descends to the bottom of the Milk Bottle.
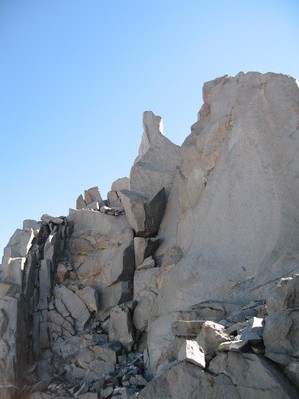
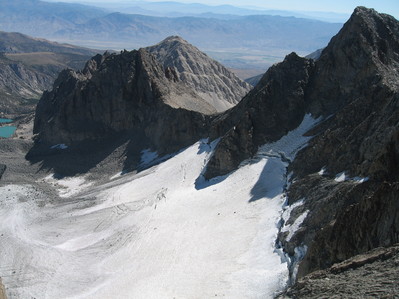
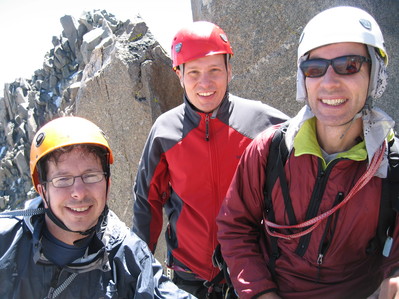
Just before the chimney, we stopped for a quick snack and set up a belay. This turn to be unnecessary as the chimney can easily and safely be descended by jamming your body in between the two walls. This was such a short pitch that I belayed Bill, then Peter tied to the middle of the rope, enjoying the double belay from Bill and me. As Peter was descending the chimney, I heard somebody asking him "Do you know Arturo Crespo?". Quite a random question when climbing at 14000ft in the middle of the Sierra Nevada. Then the person asked Peter if he was "Peter Mc..." and told him that he knew me from my website and that he recognized Peter because he was wearing a similar outfit than the one in the trip report of North Palisade. Peter answered, yes, I know Arturo and he is on the other end of the rope. It turned that the other climber was Miguel (forjan) with whom I exchange emails a few years ago when he was heading to Venezuela to climb Pico Bolivar. He was there with two friends (fossana and mybackyard) doing a traverse from Thunderbolt to Mt. Sill. As we were waiting for them to climb (10:30am), Chris and Gordon arrived to the bottom of the Milk Bottle after successfully climbing North Palisade. We were surprise about seeing how crowded the summit was, when two more climber arrived, also in their way to a Palisade traverse. Amazingly, we saw a total of 10 people at the bottom of the Milk Bottle while we were there.
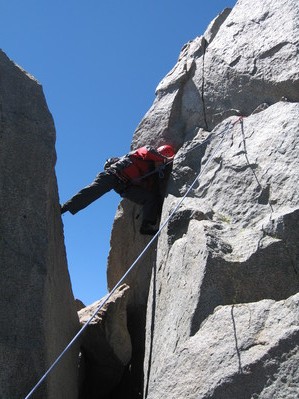
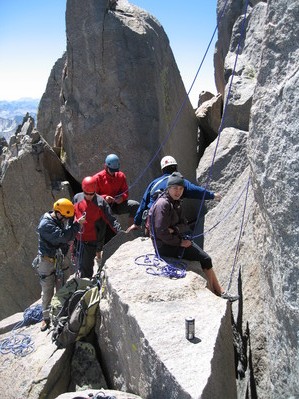
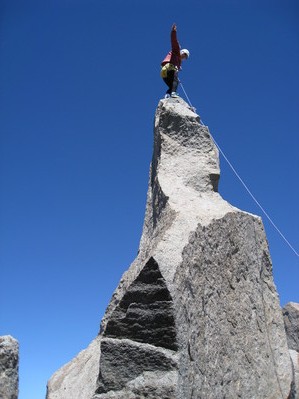
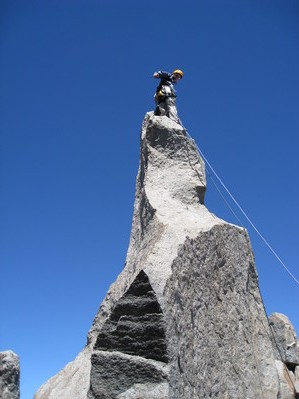
Miguel lead to the top of the Milk Bottle and carefully stood up at the top. After that, his two friends quickly climb the Milk Bottle. Given the number of people, to save time, we asked the last one to trail our rope. I was next in turn to climb. The Milk Bottle looks more like a giraffe than a bottle, with a slopping "shoulder" that it's climb by a combination of using the arette and friction; followed by a "neck" with very few features. A series of counterbalance, and friction gets you close to the top that can be reached with a mantle. I found the first move (getting to the shoulder) to be the hardest of all the climb.
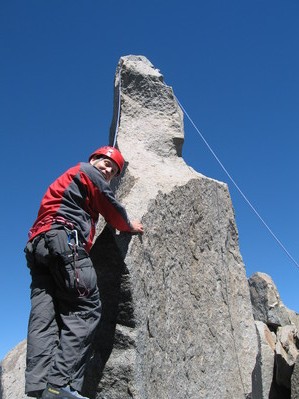
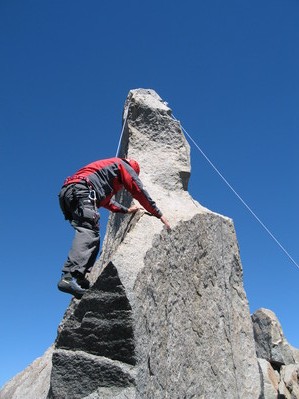
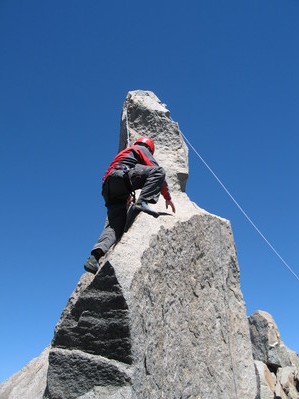
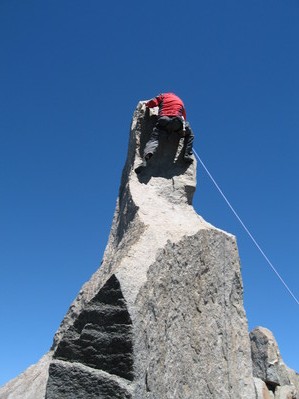
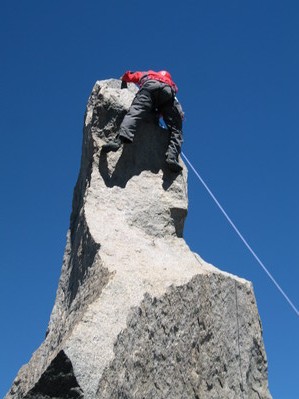
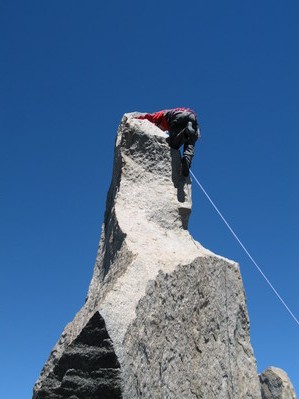
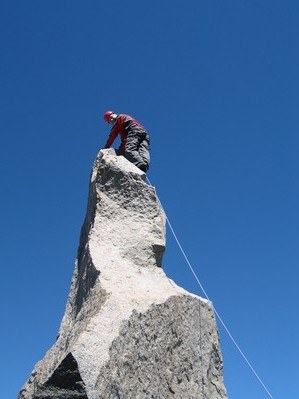
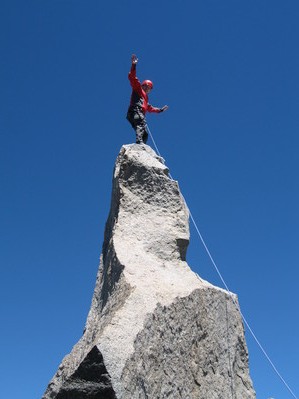
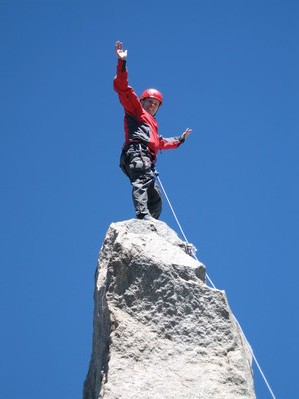
After reaching to the top, you find a rusty 1/4in bolt and lots of slings and carabiners left by other climbers. The moment that I've been dreaming for years, finally became true. I was at the top of my last California 14er! I quickly stood up at the rounded top of the Milk Bottle, turned towards Peter and got the classic Milk Bottle picture taken. The views from the top of the bottle were amazing. It has been reported that standing there is like flying and it is. To add to the illusion, I could feel the wind pushing on my back and going trough my arms. I managed to get my camera out of my pocket and snapped a few (not so good) pictures. It was probably a few seconds, but it felt like I spent a long time at the top. But, as in every climb, one needs to head down, so I sat down move to the side and got Bill to descend me to the bottom of the bottle. After that, Peter headed up the bottle, doing an elegant move just before the top, and posing for his Milk Bottle picture. Bill followed suit, quickly climbing the Milk Bottle and also standing at the top. To save time, Bill trail Gordon and Chris rope and set it up for them to climb.
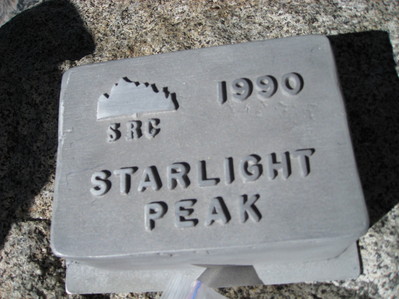
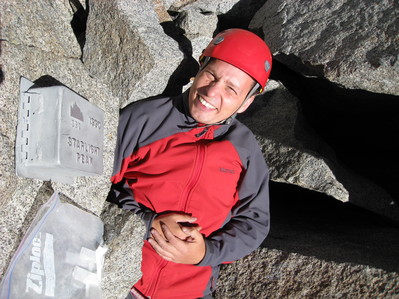
The register is at the bottom of the Milk Bottle. It's the original register inside the box that was drilled and bolted by Burns and Porcella in 1990. I found the entry of my previous attempt on Aug 27, 2005 when I got to the bottom of the Milk Bottle but didn't have time to climb it. I never felt very good about signing the register back then, so I wrote a forward reference to my entry for this climb.
Gordon use an interesting technique in which he straddled the "shoulder" of the Milk Bottle and humped his way to the neck. He then climbed to the top and sat down for his picture. Chris followed him, standing at the top of the bottle. Chris and Gordon were also descending the Northwest chute which has a lot of loose rock. We decided that it was safer for everybody to downclimb together, so we went down as a group of 5. We had to decide if we wanted to go down via the same route we went up (we saw rappel slings this way) or follow Chris and Gordon to the descend via the notch. After some debate, we decided to follow and 2 rappels took us to the top of the notch. The first rappel is obvious, but the second one requires care as you need to stop at a class 2 ledge and move horizontally to the next rappel station that takes you all the way down to the notch.
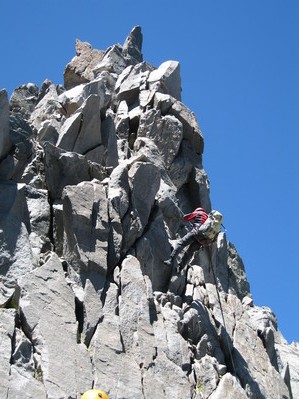
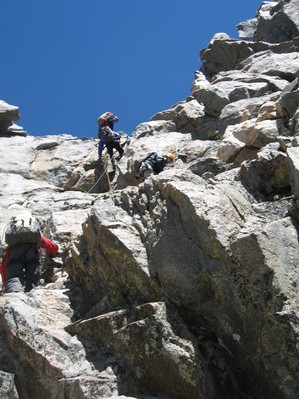
From there, we slowly descended taking extreme care of not dislodging rocks until we reached to top of the waterfall. From there, a short rappel took us to the bottom, the catwalk across to the notch of the subsidiary chute.
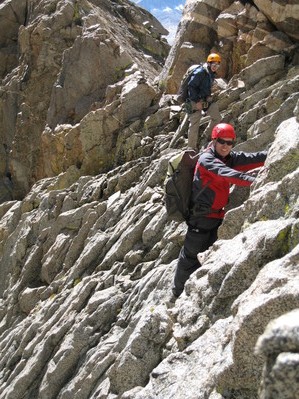
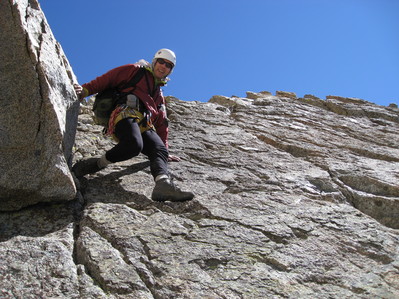
We descended the subsidiary chute, moved away from the fall line and waited for Chris and Gordon to catch up with us to finish the chute. After descending the class 4 ledges, we got the main chute where we took a long break. To get down the ledges, we got to the end of the subsidiary chute to the point where it joins a ridge. We then descended right and zig-zagged our way to a wide crack that ends 5 feet from the lower gully floor. From there, we turned left to easy steps down to the gully. From the lower gully, we headed down to camp, arriving around 6pm.
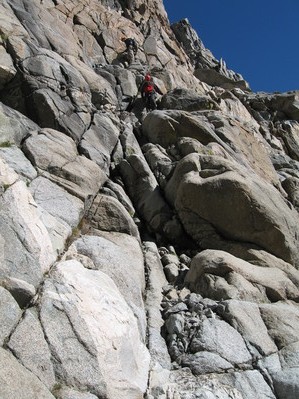
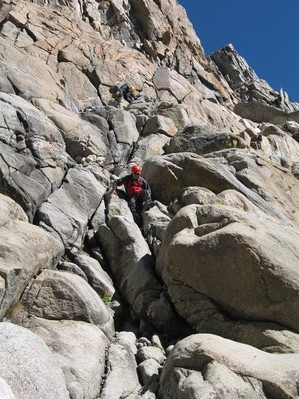
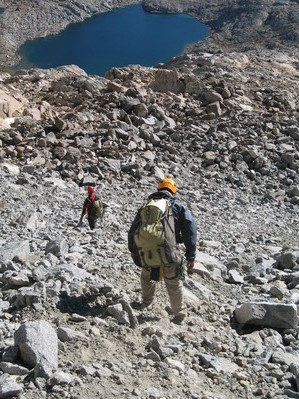
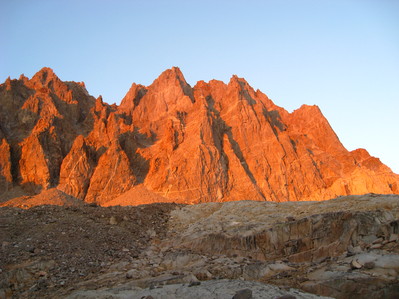
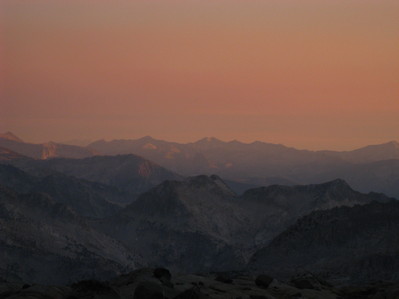
On Sunday, we woke up at 6:30am and retraced our steps up Thunderbolt Pass to Dusy Basin, Bishop Pass and the South Lake trailhead. I dropped my pack and headed 0.8 mile down the road to get the car. It's really a pain the lack of overnight parking at the South Lake trailhead. After a celebratory dinner at the Mobile Gas Station Deli in Lee Vining, we headed back home.
