Climbing the chimney was interesting. Here is Peter's recount of it:
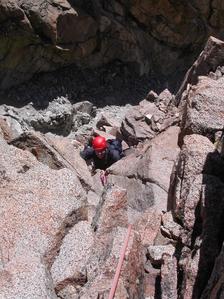
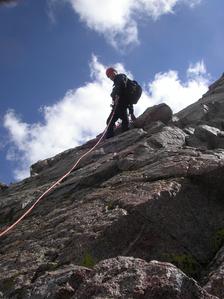
Arturo started up the first pitch around 11.15am. It had been pretty cold gearing up in the shade at the top of the U-notch and we were eagerly following the sun's progress as it moved down the rock face. Arturo started climbing up and a few feet later was in the sunshine, but the rock was still cold. The climbing did not seem that hard except for a couple of lower fifth class moves which could be well protected. Unfortunately in this rock amphitheatre there was a big echo and since Arturo was yelling at me in high speed English, the words were colliding and I couldn't understand him! However it was pretty clear when he had set up his belay about 110ft or so up the rock at a very comfortable belay stance. It was about 11.45am when I started to climb following up Arturo's great lead.
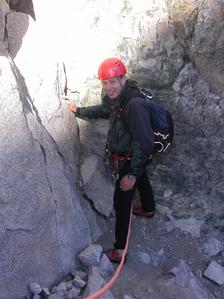
Picture by Peter McColgan
Arturo starting the lead of the Chimney variation
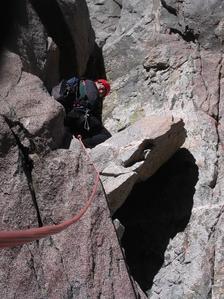
Picture by Peter McColgan
Arturo going over a chockstone
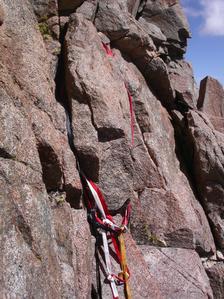
Picture by Peter McColgan
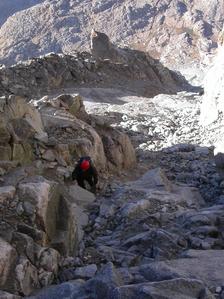
Rappel slings just left of the belay stationHe had set up a bomber belay anchor, but it had used up quite of lot of our limited lead gear, so after re-arranging and reducing a little I headed on up for my turn on the "sharp end". We had read that the second pitch was harder with the hardest move at the top, but with a rating of 5.4 I wasn't expecting too many problems. After heading straight up for a while, I looked more closely at the continuation of the chimney and it didn't appear to be that easy, so instead I headed up to the right onto a very steep wall with good handholds. Arturo was urging me to put in some gear, since I was now quite a long way up. After putting in a cam, I moved up to what for me was the crux. It didn't look hard from down below, but it was a very awkward mantleshelf onto an indented ledge. The problem was that the wall above was so steep that you were being pushed backwards as you tried to step up - almost like going over a bulge in an overhang. The heavy backpack wasn't helping either. Anyway, after much grunting and some cursing, I made it up and now stood on the ledge. I was thinking about traversing left to get back in to the line of the chimney, but there was one badly protected move which I reckoned was about 5.9 to get me there and I decided against it.
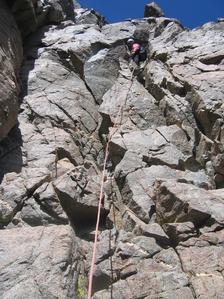
Picture by Arturo Crespo
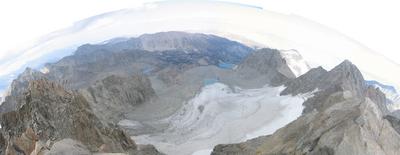
Peter on his variation of the second pitch of the chimneySo instead, after doing a tricky step-across, I continued up to the right on vertical rock with reasonably good handholds and placing gear to protect a few harder moves. I was happy to finally make the summit ridge and the spectacular views that it offered. I clipped into an existing sling plus added one of my own and a cam for a belay and soon Arturo was heading up. At one point while trying to follow the direct line of the rope and it got very taught, but later on I learned he had been tensioning across. In a short time I could see him emerging at the end of the vertical section (see photo). From there it was some easy fifth class up to the belay stance where I had been both belaying and admiring the stunning views of the Palisade Glacier thousands of feet below.
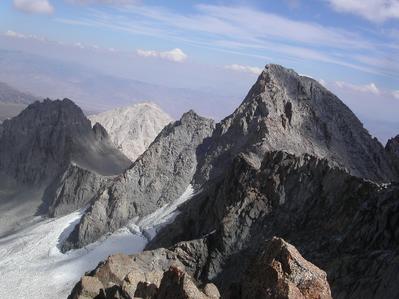
I followed Peter's lead and I understood what all the grunting was about... He we keeping me in a quite taut rope so I wasn't worry about falling and I enjoyed the climb very much. At one time, the taut rope was a problem as I needed to get back to the route after cleaning a piece. I couldn't get Peter to understand that I needed some slack, so I just tension around. After that, a couple of moves took me to the top of the ridge with an amazing view of the Palisades Glacier.
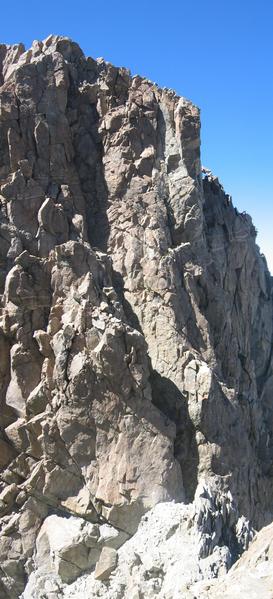
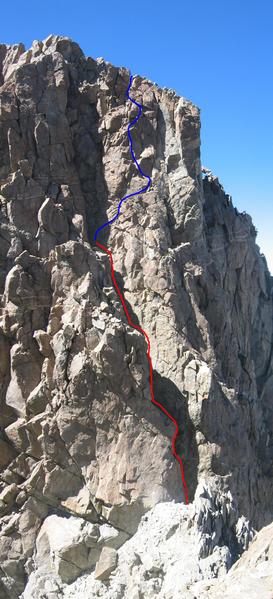
Here is the route we followed up the chimney (first picht in red, second in blue):
From the ridge, we were not sure how much off route we were, so we decided to continue roped. I led the traverse to the notch that would take us to the bowl where the summit block is. This last part was easy class 4 on slopping slabs and I would have done it unroped if I would have known how easy it was. I ended about 20 feet too high, so I belayed Peter directly into the bowl and then descended unroped.
After getting into the wide bowl, the summit block is quite impressive and there is no obvious approach. We had an excellent trip report that explained how to approach it. Basically, the best strategy is to zig-zag your way up. First, you follow left an obvious quartz white streak until it ends in a wall about 7 feet high. Then, you turn right and climb on steep slabs and face until you reach the edge of the ridge and a big drop (before getting there are large knobs that could be use to climb directly up; however, we believe it's better to bypass them). At the end of the slabs, there was a small cairn when we did it. Turn left and you will soon be confronted with two large boulder that can easily be climbed by chimneying up or by using good holds (great for hands but there is little for feet. Continue up and you will find the keyhole straight ahead. Drop into a gap between two boulders and squeeze through the tiny keyhole. This is a very tight squeeze... Peter even have to remove his jacket to get through. From the exit of the keyhole, you pop up about 20 feet from the summit (it's possible to avoid the keyhole by doing a very-exposed class 4 move up the boulder with excellent hand holds, including one that looks suspiciously man made. This hold is on the summit side of the final class 4 moves and not really needed).
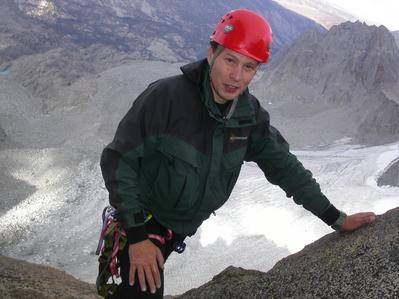
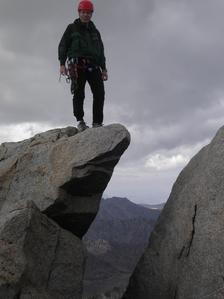
The views from the summit are breathtaking... We couldn't find the register (many parties have complained about it), but we were sure we reached the summit as we found the 2 topo markers.
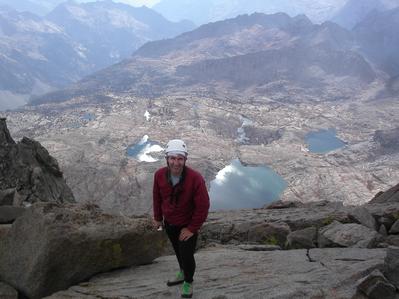
Initially, we were thinking of trying Polemonium (a 45 minute trip from the U-Notch), but we decided that it was too late and the weather too threatening to attempt that, so we started descending the LeConte route. After passing the first major chockstone, we find another set of cairns that looked like the ones that we saw just below the U-notch. We decided to try them and after a few class 3 moves and one class 4 move, we were back into the U-notch. Following these cairns is probably the easiest route to North Palisade (at least this time of the year where there is no snow), and we are surprised that it's not documented anywhere.
We try to move side by side as it was easy to kick rocks and send them rolling down the gully for a long distance. The terrain was not very friendly and at one moment, my brand new hiking pole got lodged between two boulders and bent. Fortunately, I was able to restore to an OK shape by bending it back.
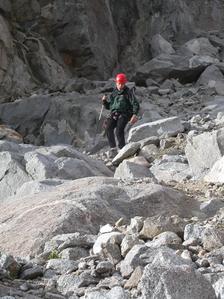
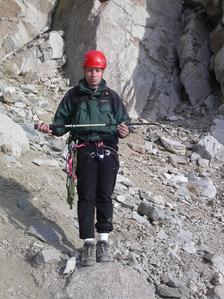
As we were descending the U-notch, a few snow flakes started hitting us. It was strange as it was quite sunny in segments, but snowy in others... As the weather keeps looking threatening, we picked up our pace and we arrived to camp just before it got dark.
The hike out was uneventful. After trying yet another route down Thunderbolt pass, we did our best time ever (2 hours 10 minutes from Thunderbolt to Bishop pass). We are still looking for the easy way to cross this pass...
After reaching Bishop pass, the hike became very easy thanks to the incredible trail that descends the pass and goes through an incredible number of lakes.